Networks
Create and manage networks — the public endpoints players connect to.
A network is the central object in Infinity-Filter. It groups together one or more domains (the hostnames players connect to) and one or more backends (your real Minecraft servers). It also owns the mitigation, filtering, webhook and message configuration that applies to all of its traffic.
Where to find your networks
Open panel.infinity-filter.com. The active network is shown at the top of the sidebar, with its name and its players online out of your plan’s limit. Click it to open the list of your networks — each with its players online — and switch, or to create a new one.
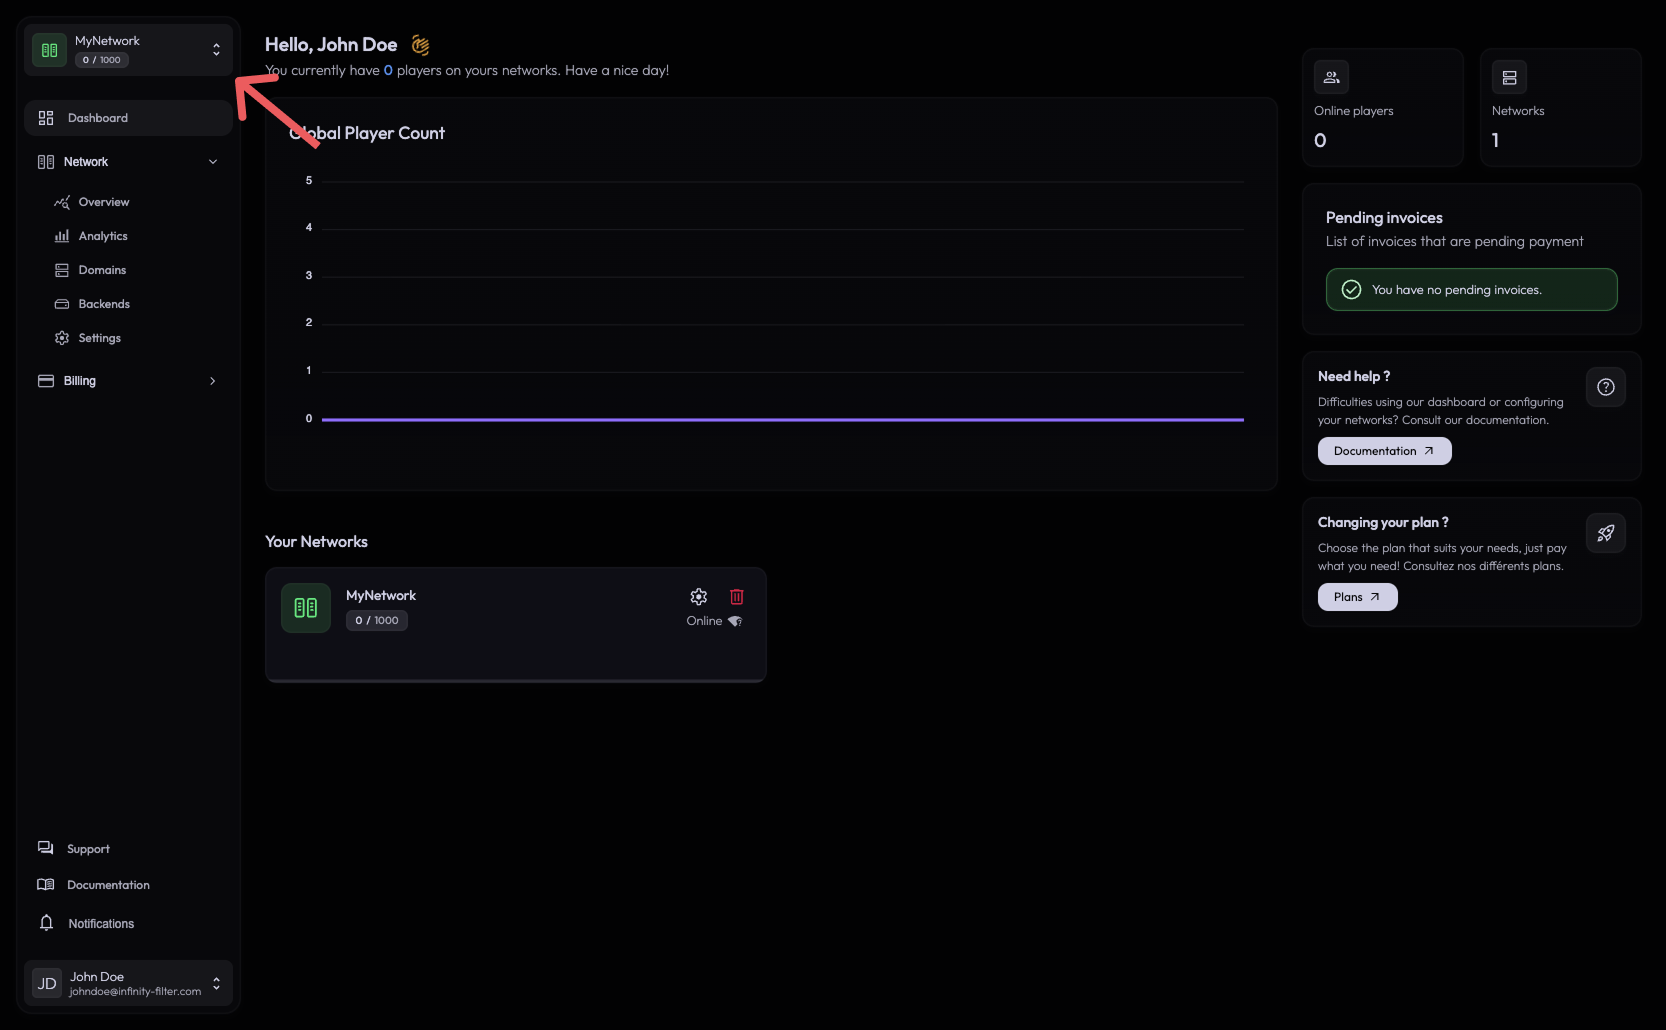
When a network is selected, the Network sidebar entry expands into its sub-pages:
- Overview — status at a glance.
- Analytics — player and traffic metrics.
- Domains — the player-facing hostnames.
- Backends — your real servers, plus modules.
- Settings — everything else, with its own vertical sub-nav.
Creating a network
Click Create a network on your Dashboard, at the right of Your Networks — or, from anywhere, Create a network in the network list at the top of the sidebar. It opens the guided setup.
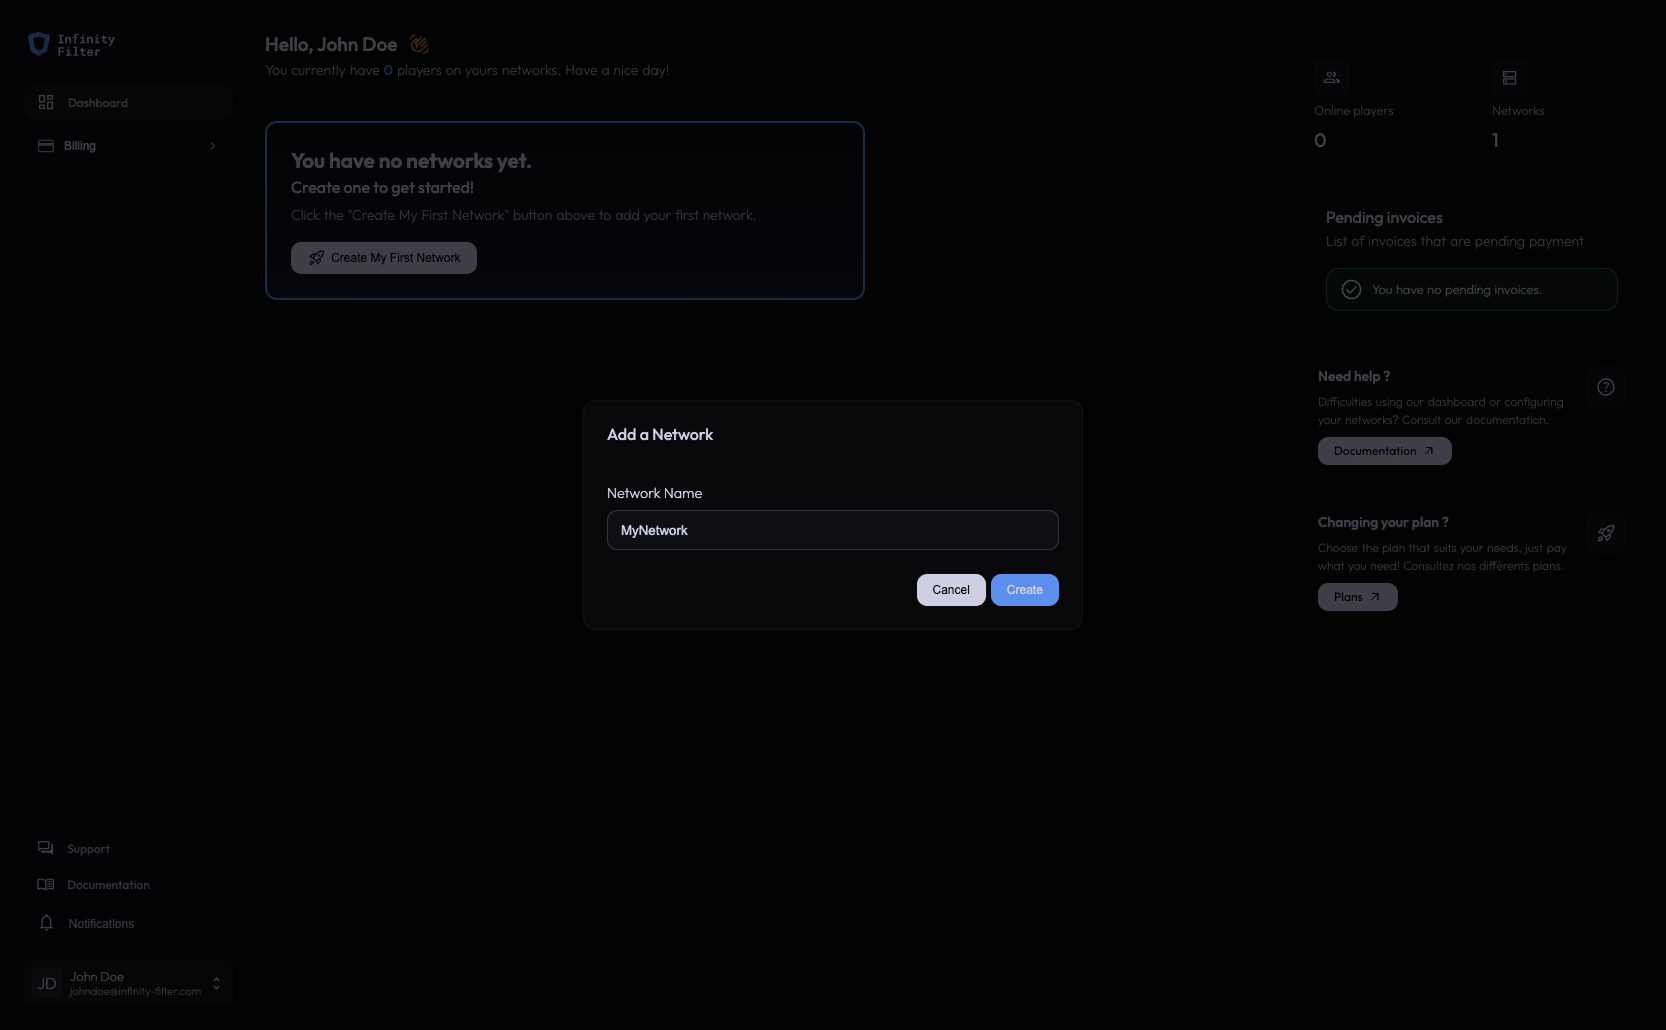
Give the network a name (letters and numbers, up to 16 characters — an internal label, your players never see it) and choose who plays on your server: Java Edition players, or Java and Bedrock players (Bedrock needs a dedicated IP). Then:
- Create the network — the guided setup continues with your server, the players’ real IP, the address and the DNS records. See the Setup guide.
- Create and skip the setup — only the name is needed: the network is created and you land on its Overview page. You add the backends and domains yourself, whenever you want.
Everything is saved as you go: you can leave the guided setup at any time (the × at the top right) and pick it up later with Continue the guided setup on the Overview page.
The Overview page
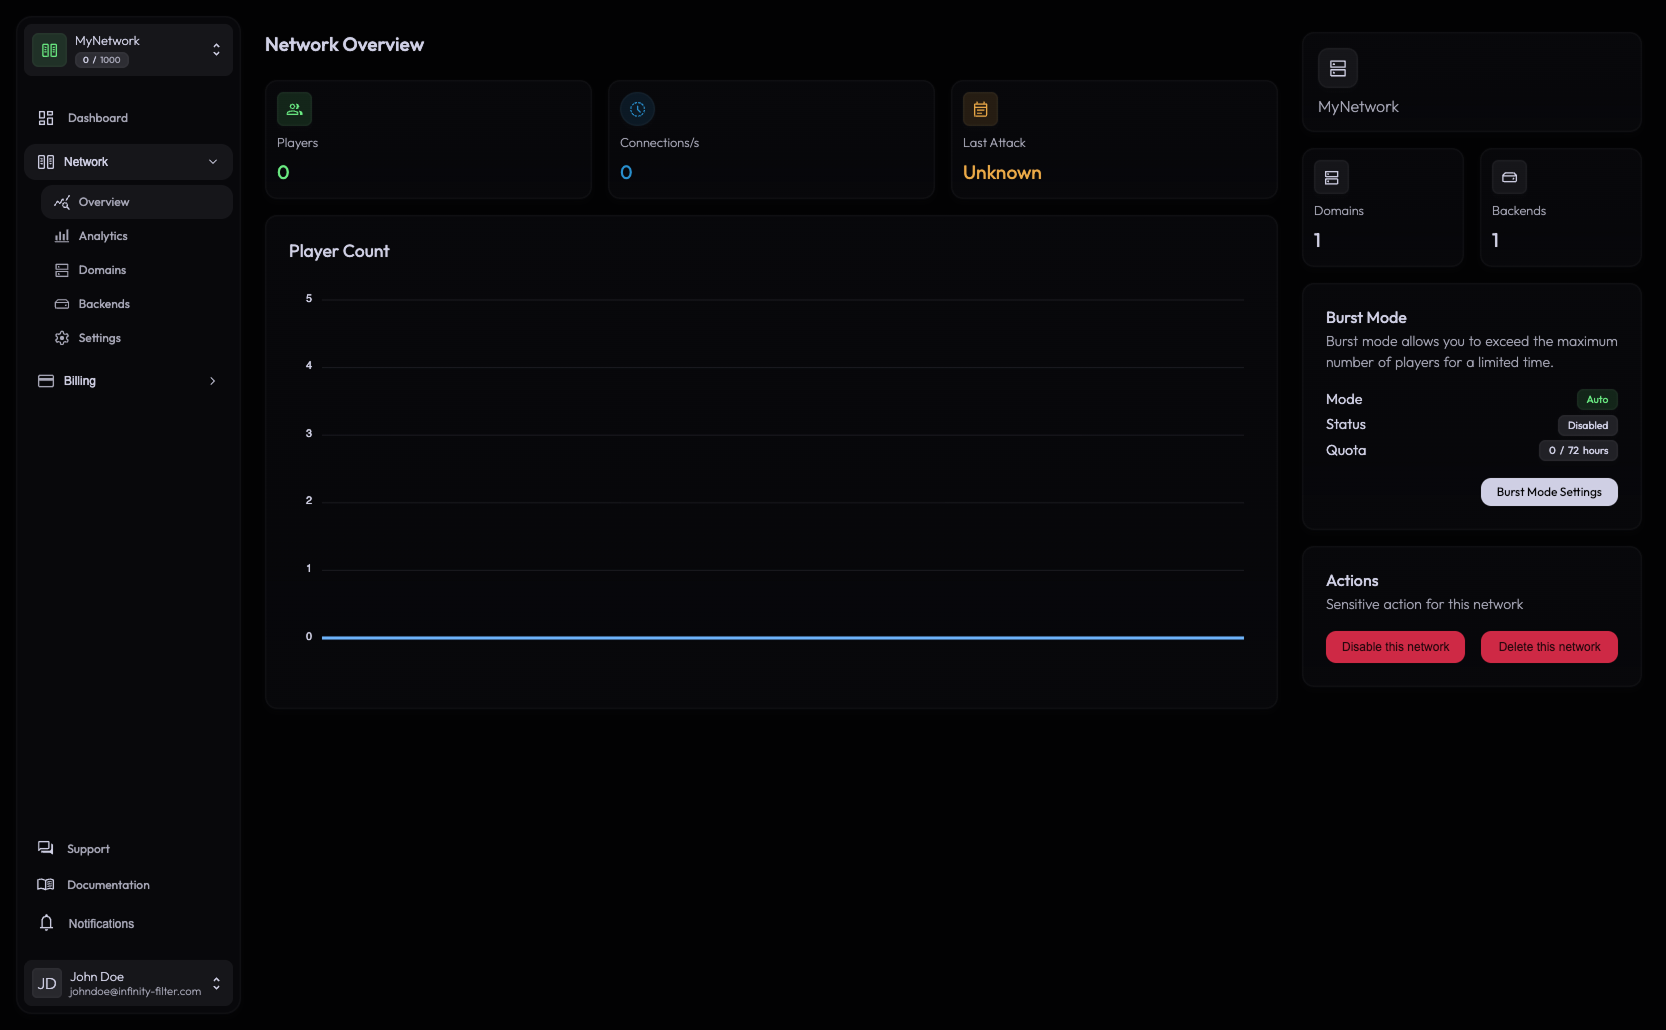
Top of the page:
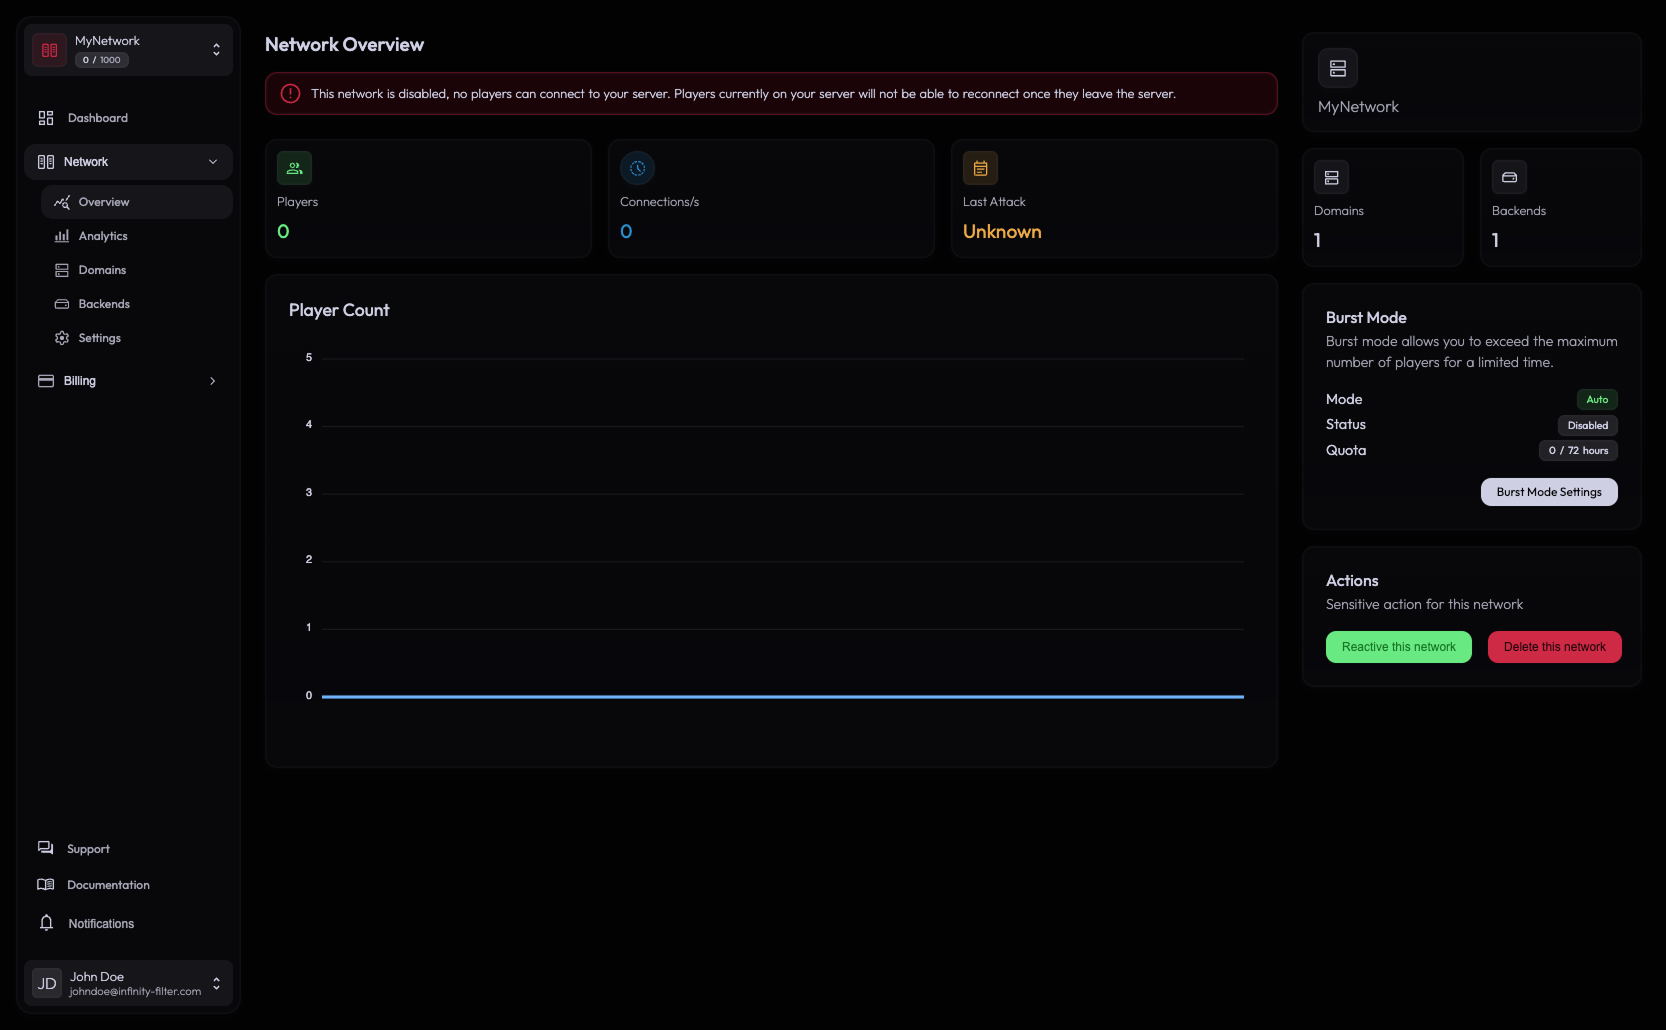
- A red banner This network is disabled, with a Reactivate button, if the network is disabled.
- A Network Setup card while the network has no backend or no domain yet, with Continue the guided setup and a shortcut to each missing piece.
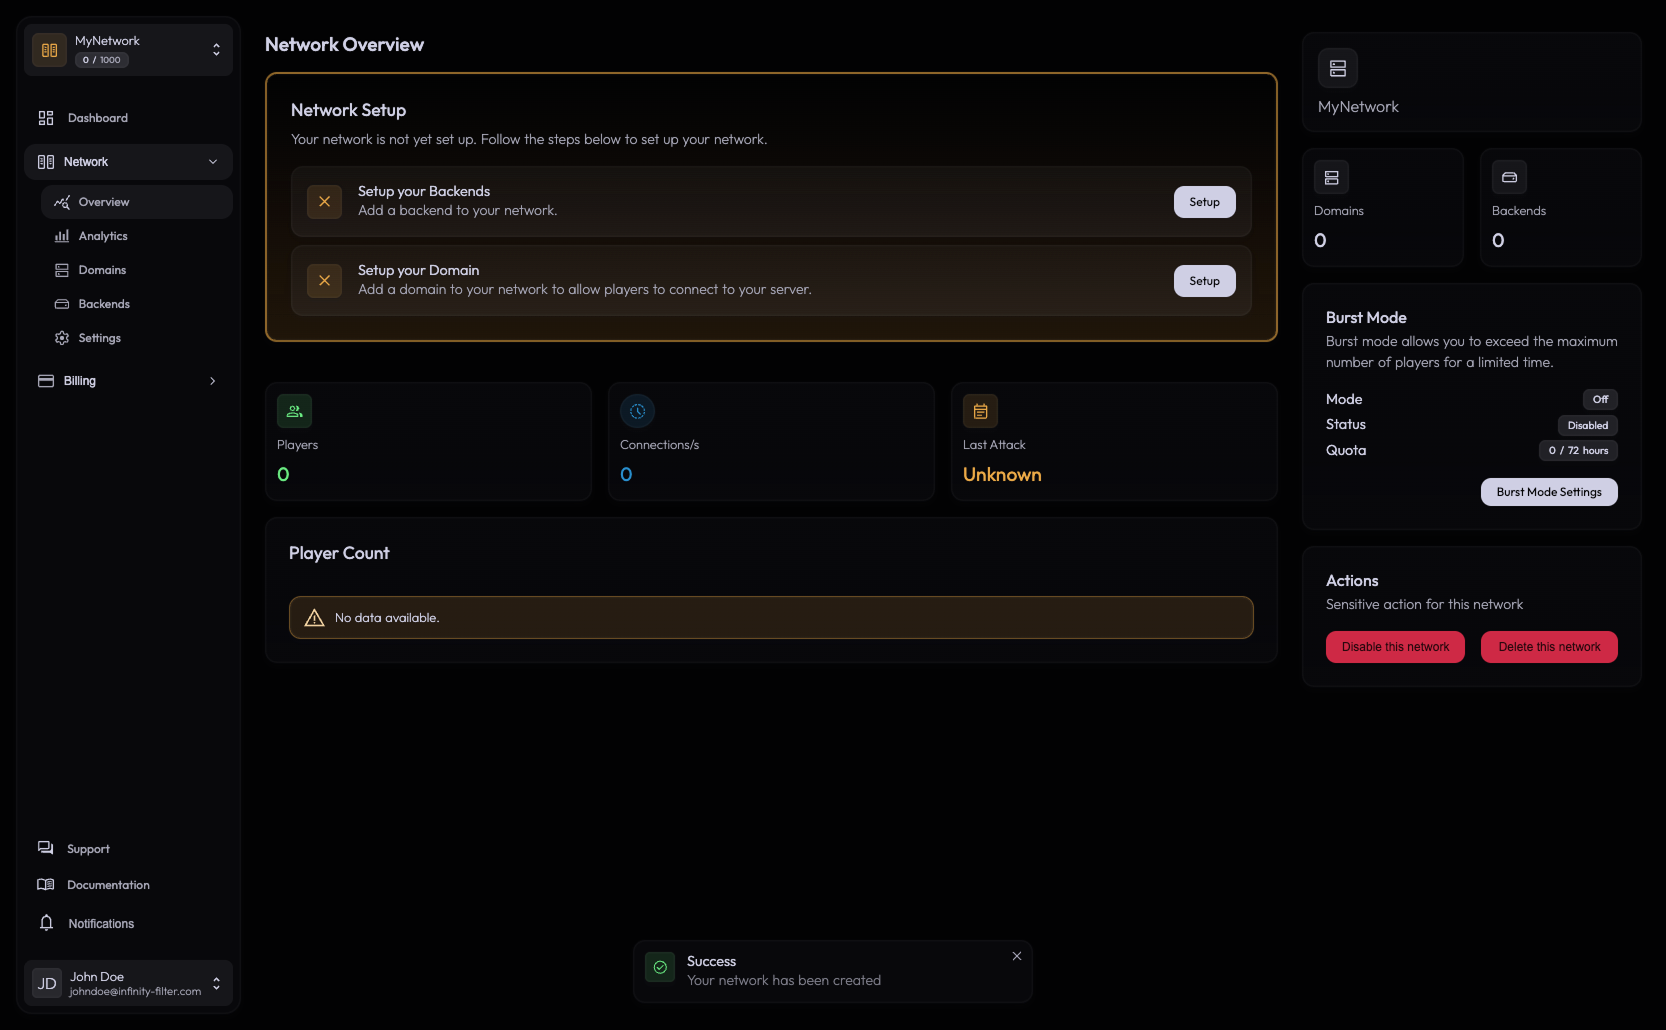
Then:
- Players · last 7 days — unique players, new players and median session, compared to the 7 days before. See the analytics opens the Analytics page.
- Players online (with the 24 h peak), Connections / s, Blocked · 24 h and Last attack.
- The Player Count chart (last 24 hours), then Blocked connections (one curve per reason) and Allowed connections (one curve per type), last 24 hours, hour by hour.
Right-hand side, the Configuration card sums up what protects the network — backends, domains, burst, every mitigation and filtering setting — each line opening its settings page. Test the latency opens the Latency Test.
Disabling a network
A network can be disabled for several reasons:
- Manually — Settings → General → Danger zone → Disable.
- Automatically — via the billing system: payment failure, subscription cancellation, plan downgrade that no longer covers this network.
When disabled, traffic is no longer routed through Infinity-Filter for that network. Players hitting the configured domains will see the offline MOTD (if configured) or get a connection error.
To re-enable a disabled network: click Reactivate on the red banner of the Overview page (or in Settings → General → Danger zone).
Deleting a network
From Settings → General → Danger zone → Delete (or the delete icon of the network on your Dashboard). Deletion is permanent:
- The network and its configuration are removed.
- Domains in the panel are unregistered.
- DNS at your registrar continues to resolve through Infinity-Filter until you update or remove the CNAME — players hitting it see the protected fallback message.
Analytics
Each network has its own Analytics page with six tabs — Overview, Live, Audience, Retention, Acquisition and Connections — covering everything from players online and country distribution to retention cohorts and per-reason connection drops.
It’s a dedicated feature with its own page: see Analytics.
Network → backend relationship
Two rules matter:
One network = one MOTD source Only the first backend in the Backends list is queried for MOTD. All domains in the network share that MOTD.
All domains load-balance across all backends There is no per-domain → per-backend routing inside a single network. To send a specific domain to a specific backend, create a separate network.
If you need a different MOTD per region or a domain that always lands on a specific backend, that’s a multi-network setup. Contact support if you want a custom plan with extra networks.
What’s next
Last updated: October 24, 2026